Day 31: How to Make a Ceramic Plate: Step-by-Step Pottery Vlog Tutorial for Beginners
Hellow guys, Welcome to my website, and you are watching Day 31: How to Make a Ceramic Plate: Step-by-Step Pottery Vlog Tutorial for Beginners. and this vIdeo is uploaded by Brooker Ceramics at 2024-09-22T06:01:33-07:00. We are pramote this video only for entertainment and educational perpose only. So, I hop you like our website.
Info About This Video
| Name |
Day 31: How to Make a Ceramic Plate: Step-by-Step Pottery Vlog Tutorial for Beginners |
| Video Uploader |
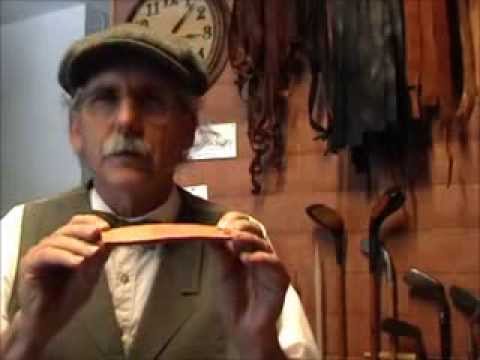
Video From Brooker Ceramics |
| Upload Date |
This Video Uploaded At 22-09-2024 13:01:33 |
| Video Discription |
In this comprehensive pottery tutorial, we'll show you how to create a beautiful ceramic plate from 800g of earthenware clay. This step-by-step guide is perfect for beginners and those looking to improve their pottery skills. Follow along as we demonstrate every stage of the process, from the initial preparation of the clay to the final trimming of your plate.
Here’s what you’ll learn in this video:
1. Weighing the Clay: Discover how to accurately weigh 800g of earthenware clay, the ideal amount for making a medium-sized plate.
2. Wedging the Clay: We’ll teach you the essential wedging techniques to eliminate air bubbles and prepare your clay for throwing. Proper wedging ensures a smooth, even surface and strong structure for your ceramic piece.
3. Centring the Clay on the Wheel: Centring is one of the most important skills in pottery, and we’ll break it down with simple tips and techniques to help you master this critical step.
4. Throwing the Plate Shape: Watch as we demonstrate how to throw a perfectly flat and balanced plate on the pottery wheel. We’ll explain how to shape the base and walls to achieve an even, symmetrical plate.
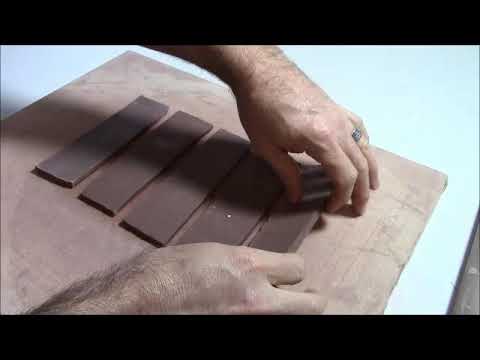
5. Trimming the Plate: Once the plate has dried to a leather-hard stage, it’s time to trim! Learn how to create a clean foot ring and smooth edges, giving your plate a professional finish.
We’ll also cover helpful tips on:
Understanding the drying stages and how to handle clay during the leather-hard phase
Best practices for ensuring your plate doesn’t warp during drying and firing
Whether you're just starting out or looking to hone your pottery techniques, this tutorial provides clear, easy-to-follow instructions for making your very own ceramic plate. You’ll not only improve your throwing skills but also gain a deeper understanding of the art of ceramics.
Helpful Tips:
Make sure your clay is properly wedged to remove air bubbles.
Keep your hands and tools wet to prevent sticking.
Practice patience and don’t rush the process; pottery is an art form that takes time to master.
Subscribe for more pottery tutorials and creative tips!
🔔 Don’t forget to hit the bell icon to get notified of our latest videos.
Thank you for watching! If you enjoyed this video, please give it a thumbs up and leave a comment below with your pottery questions or requests for future tutorials. Happy potting! 🎉
#Pottery #PotteryForBeginners #PotteryWheel #ThrowingClay #ceramicplate #PotteryTutorial #Ceramics #HandmadeArt #ArtisanCrafts #DIYPottery #ceramic #art #craft #clay #throwing #artist #diy #potters #HowToMakeCeramicPlate #EarthenwareClay #BeginnerPottery #CeramicArt #HandmadePlate #WheelThrowing #ClayThrowing #TrimmingPottery #Crafts #HomeStudioPottery #CeramicsTutorial #PotteryTechniques #StudioCeramics |
| Category |
People & Blogs |
| Tags |
clay | craft | pottery | ceramic |
More Videos